Spire Print Connect User Guide
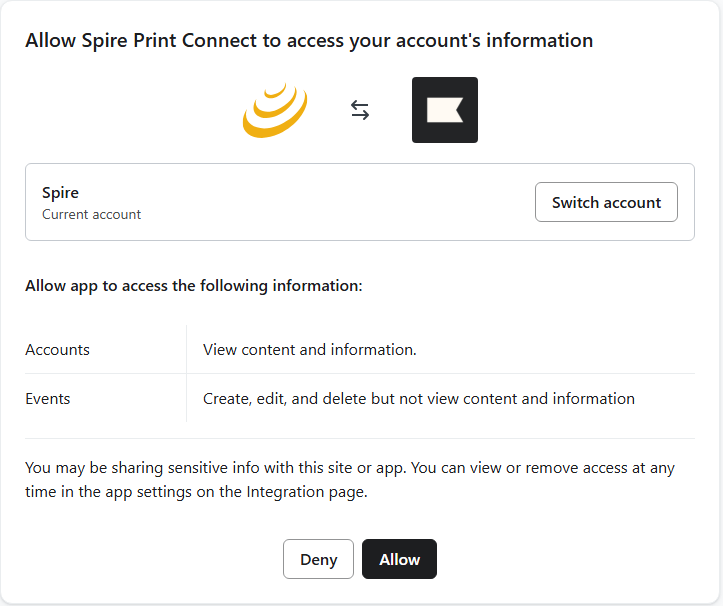
When you start the installation of the Spire Print Connect App, you will be asked to accept the required permissions for the app, as shown below.
Clicking the "Allow" button will finish the installation.
Once the app is installed, you'll be directed to the app home page, where you can contact the Spire sales team to request an authentication token, which you will use in your Klaviyo Flows.
When you receive a response from Spire that your authentication token is ready to use, you can set up a custom Flow and Webhook to integrate with the Spire platform.
Set up a Flow and Webhook
Navigate to Flows. Click on "Create Flow", and then click "Build your own". Give the Flow a name such as "Spire Print Campaign Flow".
On the "Select a trigger" page, select "Added to list", and select the list that you will be using for the Spire Print Campaign. Save the tigger.
Now that you have a trigger set up, add a webhook to the Flow creation.
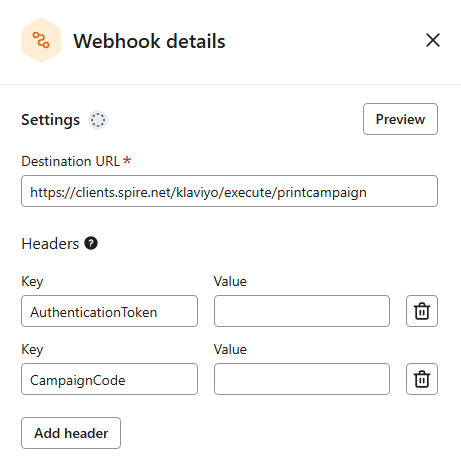
In the webhook Settings, give the webhook a name such as "Spire Print Campaign Webhook".
The destination URL must be: https://clients.spire.net/klaviyo/execute/printcampaign
AuthenticationToken and CampaignCode headers must be added to the Headers section, as shown below.
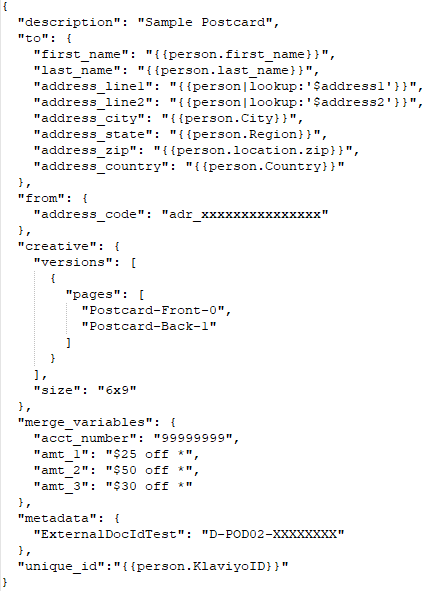
In the JSON Body section of the Webhook Details, click "Expand" and add the campaign JSON, as shown below:

Here is an example of the campaign JSON: